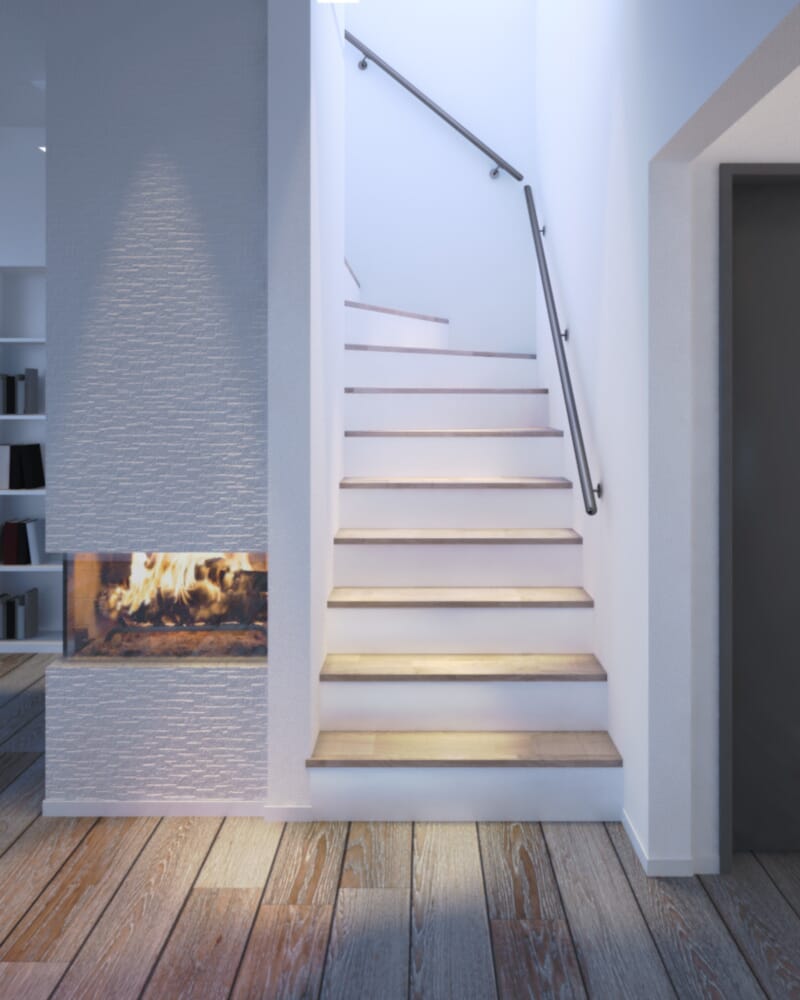
If you want to install a bannister on a landing, you will need certain equipment to plan the job before you start.
Why install a bannister in your home?

Installing a bannister is a practical step to help prevent any injuries in your home. An open landing on the second floor or above without a bannister can be a danger to anyone. This is because they could fall down the stair cavity and injure themselves. An easy, simple and effective solution is to install a bannister. This will prevent any falls and look visually appealing if installed carefully and with consideration. Make sure you choose a bannister kit in a material that matches your decor to ensure the aesthetic flow of your home remains uninterrupted.
Before you get started, here is a list of the tools you will need:
- Bannister kit
- Drill
- Nail gun and nails
- Pencil
- Vise-Grip
- Wrench
- Center-finder tool
- Drill
- Leveller
- Toggle bolt
- Miter saw
- Edging tape
- Drill press
A Step by Step Guide on How to Install a Bannister on a Landing
Step 1
First, you need to find the newel post in your bannister kit. A centre-finder tool will then locate the point, which you'll need to mark with a pencil at the base. Once you've done so, drill a hole through the mark you've made, as this will help you later when the screw for the mounting bracket is installed.
Step 2
The wooden bracket must be placed on the floor and run from the wall to which the bannister will connect to where the newel post will rest. The newel post must be secured on the bracket where you want to install it. Before locking it in place, make sure it is square; this will ensure that the side of the post where it attaches to the bannister is parallel with the wall to which the bannister will be connected. The newel post's centre point on the floor bracket can be marked by tilting it up to make room to do so. You can then drill a small hole as before to guide you when it comes to the mounting bracket.
Step 3
Your leveller can now be used to discover the centre point on the wall, as this will be where the rosette will attach. You can push a toggle bolt through the rosette, then tap this to create a mark that will guide you later. Next, you must drill a hole large enough in the wall so the toggle bolt can be pushed through. Once you have achieved this, tighten the bolt slowly. Doing so too fast could damage either the rosette or the wall, which naturally you want to avoid!
Step 4
The distance between the newel post and the rosette should be measured, and a miter saw should be used to ensure that both the handrail and toe rail are the correct length. The toe rail should be positioned over the floor bracket and secured with finishing nails.
Step 5
The length of space between the balusters may be recommended in your bannister pack. It is best to keep a gap no larger than 4 inches between each one. This is to prevent anyone from falling through. Then stick a strip of edging tape to the toe rail's centre length, which can then be marked to show where each bannister should be positioned.
Step 6
You need to choose a drill bit equal to the pin on the bottom of the balusters. Drill your holes in the toe rail according to your markings. Once this is complete, you can take the edging tape off. The location of the handrail then should be marked onto the newel post. You can use a drill press to create a hole that must be perpendicular to the newel post, as this will serve as a guide for the hanger bolt.

Step 7
Your vise grip will be used to push the hanger bolt into the newel post, and a drill press can then drill a matching perpendicular hole at the end of the handrail.
You should then drill another one-inch hole through the bottom of the handrail.
Step 8
Locate the hanger bolt attached to the newel post and slide the handrail onto it before placing a convex washer onto the bolt via the hole you created at the bottom of the handrail. Once in place, you can secure it with a nut on top of the washer and tighten the whole thing securely with a wrench.
Step 9
You must align the base of the newel post with the hole in the wooden bracket. From here, you can slide the opposing end of the handrail over the hanger bolt in the rosette. You can secure this connection by placing a washer over the bolt and tightening the whole thing securely with a wrench.
Step 10
Place the pins on the bottom of the balusters to secure them in the holes in the toe rail. The rails can be tilted sideways and then manipulated into an upright position all along the underside of the handrail. Fillets (which act as small spacers) can be placed under the handrail on either side of the balusters and secured with finishing nails.
Buy Your Bannister from Loft Centre Today
If you are looking for a robust, high-quality, well-crafted bannister railing kit to enhance the safety and aesthetic of your home, browse the range from Loft Centre today.


