How to Install a Roof Window In The Loft: The Best Roof Window Installation Process
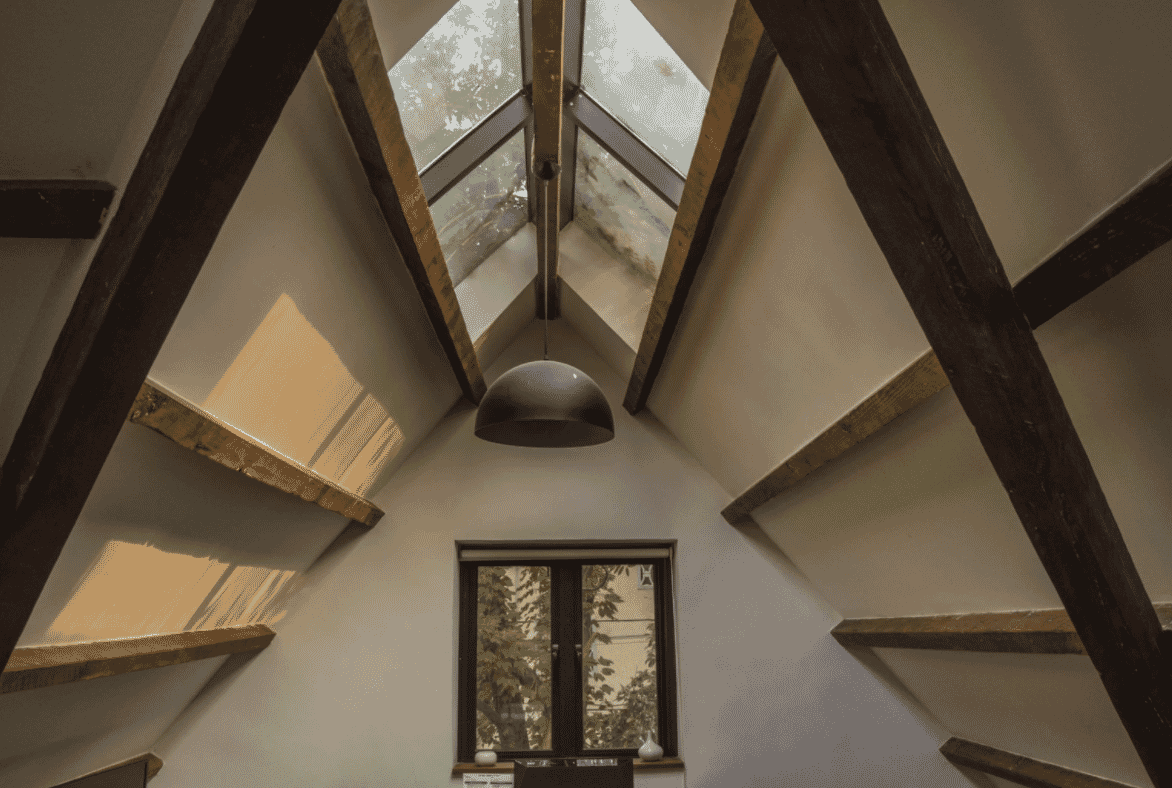
Roof windows are an easy, affordable way to give you extra light in the loft space in your home. Whether you have a loft conversion, or your loft is just used for storage, a loft window will be a great advantage. Roof windows allow natural daylight and ventilation into a roof space while minimizing noise transmittance and heat loss.
Depending on your DIY experience, you are likely to require a professional to install the window(s) on your property. However, doing your research on how the process works will enable you to ensure the job is completed to a high standard.
This guide will discuss everything you need to know about how to install a roof window.
Roof Window Installation Preparation
Firstly, you need to determine the desired or required position of the window in your roof. You must always take into consideration the Building Regulations and Planning Permission laws. If you are in any doubt, talk to the building control department of your local council.
If you are converting your loft for habitable use, you will be required to install at least one window. Each window fitted must provide a minimum of 0.33 square metres of slope opening. The window must be easily accessible from the inside and also must have the ability to be reached from a ladder from the outside.
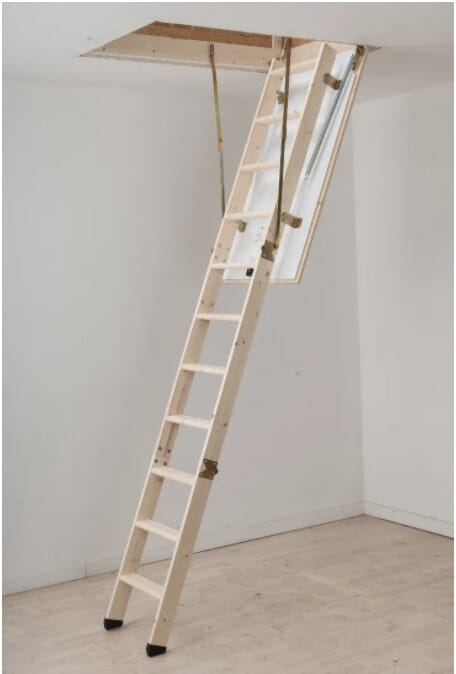
If the loft will only be used for storage, i.e via a loft ladder , then the window may be installed in any sensible location (as long as the roof support structure is not affected in any way!)
The next vital step is to check the required measurements of the opening to fit the window. This should be shown in the window instructions.
5 Roof Window Installation Steps:
Once you’ve established the position and size required for the window, follow these 5 roof window installation steps:
1. The opening for your roof window should be prepared by removing enough tiles or slates from the area. These are accessed by cutting away some felt from underneath giving you access to the tiles and battens. By cutting away one of the battens from under a tile, you should be able to slide that tile, and then the other tiles out. Some tiles and all slates may be nailed. Once enough tiles are removed, you will be able to cut away the necessary roof timbers to form the correct sized opening. At least one extra row of slates or tiles on each side will need to be removed in order to fit the window flashing later on.
2. Remove the opening sash from the new window. Now fit the remaining frame into the new opening, using fixing brackets (usually supplied). Ensure the brackets remain square to the frame and hammer into the spiked end. Once you are happy it is sitting squarely in place, either drill or nail into a slot in each bracket.
3. Now it’s time for weather proofing - the roof flashing is to be fitted. (This keeps the joint between the new window frame and the roof watertight). Begin by inserting the flashing pieces, focusing on the lower one first. The black rubber trim should be lifted and tightly positioned beneath the rubber up against the frame. Take note of the flashing instructions as they do differ on either tile or slate roofs.
4. The slates or tiles can now be replaced around the sides of the window. An electric angle grinder is the best tool to use to cut through slates or tiles. Alternatively you can use a tile cropper but do be sure to wear gloves and goggles for protection.
5. Finally, the sash is to be refitted. Firmly hold the window sash at the top and bottom to move it through the window, remembering it needs to be both upside-down and back-to-front. Adjust the window while holding it to ensure the two pivot mechanisms fall into the channel slots in the frame. The arms will have to be re-attached at the top of the frame, before pushing the clips firmly back into place. Check everything is securely in place, and release the window.
You now will have a wonderfully light loft space!

For more loft conversion advice and tips, visit our loft conversion guides page here.
Contact us at Loft Centre
If you’d like any more information or guidance with anything loft related, please visit our site or get in touch with us at Loft Centre:
Please note we do not provide roof window installation, this is simply to be used as a guide.
We do however provide all things loft related, such as loft ladders, roof hatches, and loft stairs.